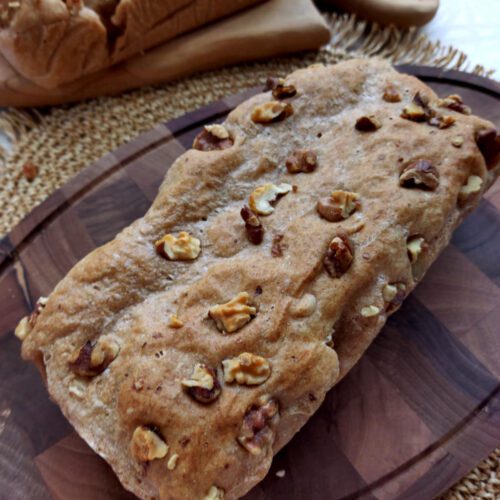
We love making this whole-grain bread. It is very easy to prepare yet highly nutritious. It tastes much better than store-bought bread or even bread from a bakery. Whole-grain bread available for purchase is often either too hard and dry or not truly 100% whole grain, and it usually contains ingredients I don’t particularly like. Of course, we still buy bread occasionally, especially on warm days when I prefer not to use the oven. But great thing about homemade bread is that you can bake a large batch and freeze it. Then, when we’re craving warm, fresh, and soft whole-grain bread, we just pop it in the microwave to defrost it. It’s (almost) as good as freshly baked.
This simple bread is perfect for everyday use, as it pairs well with any spread, soup, or salad. It’s packed with minerals and vitamins such as iron, zinc, and B-vitamins because whole-grain flour contains significantly more nutrients and fiber than semi-white or white flour. Spelt flour is even more nutritious than wheat flour. For example, 100g of spelt wholemeal flour contains about 9mg of iron, compared to 3.5mg in the same amount of wheat flour. However, it does contain gluten, so unfortunately, it’s not suitable for people with a gluten allergy (celiac disease) or gluten sensitivity.
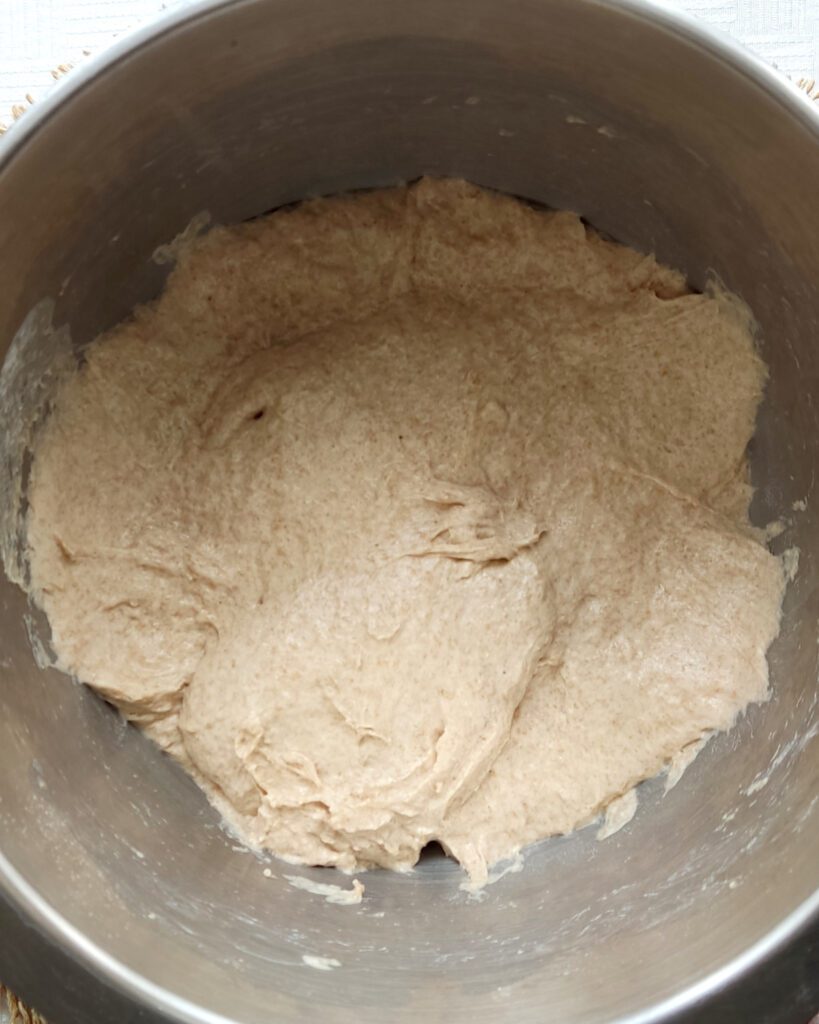
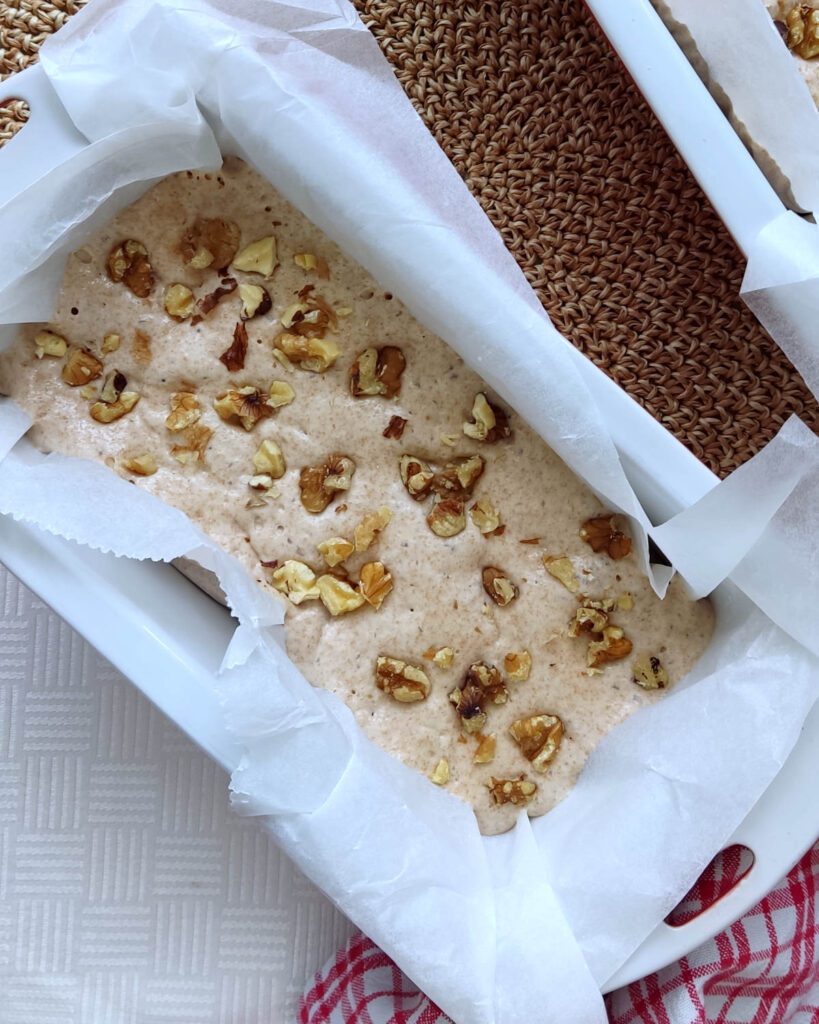
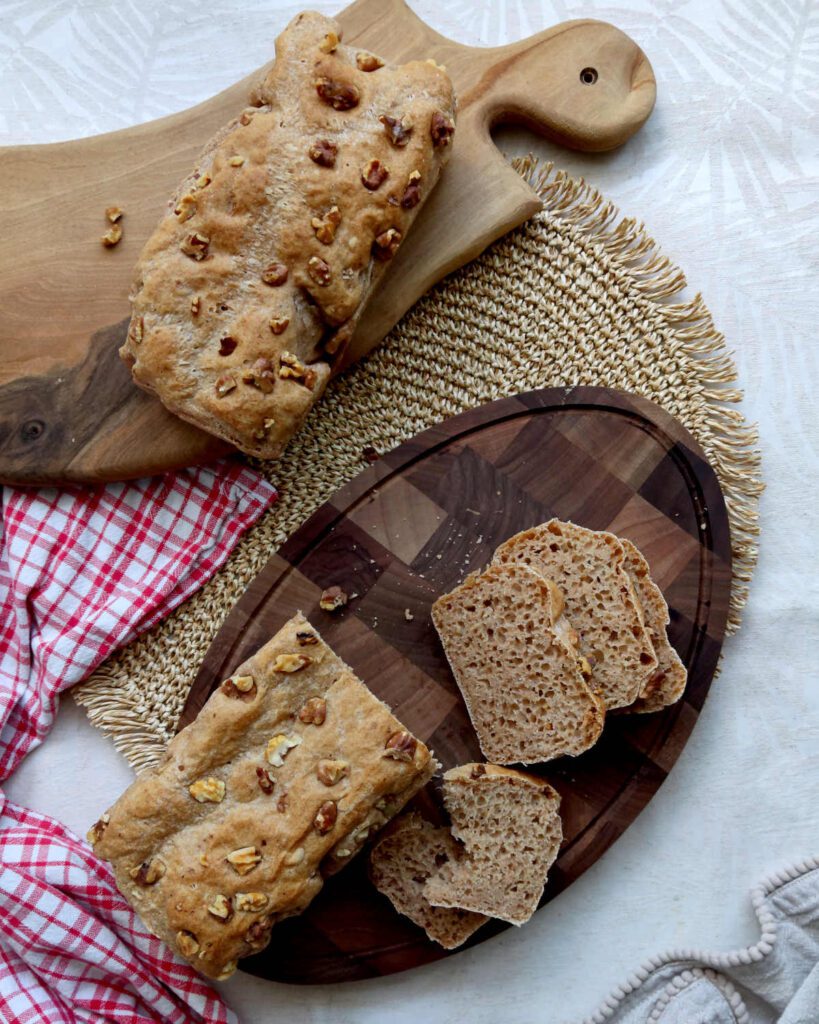
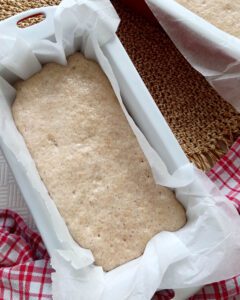
You’ll notice in the pictures that the dough is really runny and sticky. I believe this is the key to keeping the bread soft. The only challenge with runny dough is that it’s difficult to shape a nice loaf. That’s where bread loaf pans come to the rescue. Plus, they save you some work, which is always a bonus.
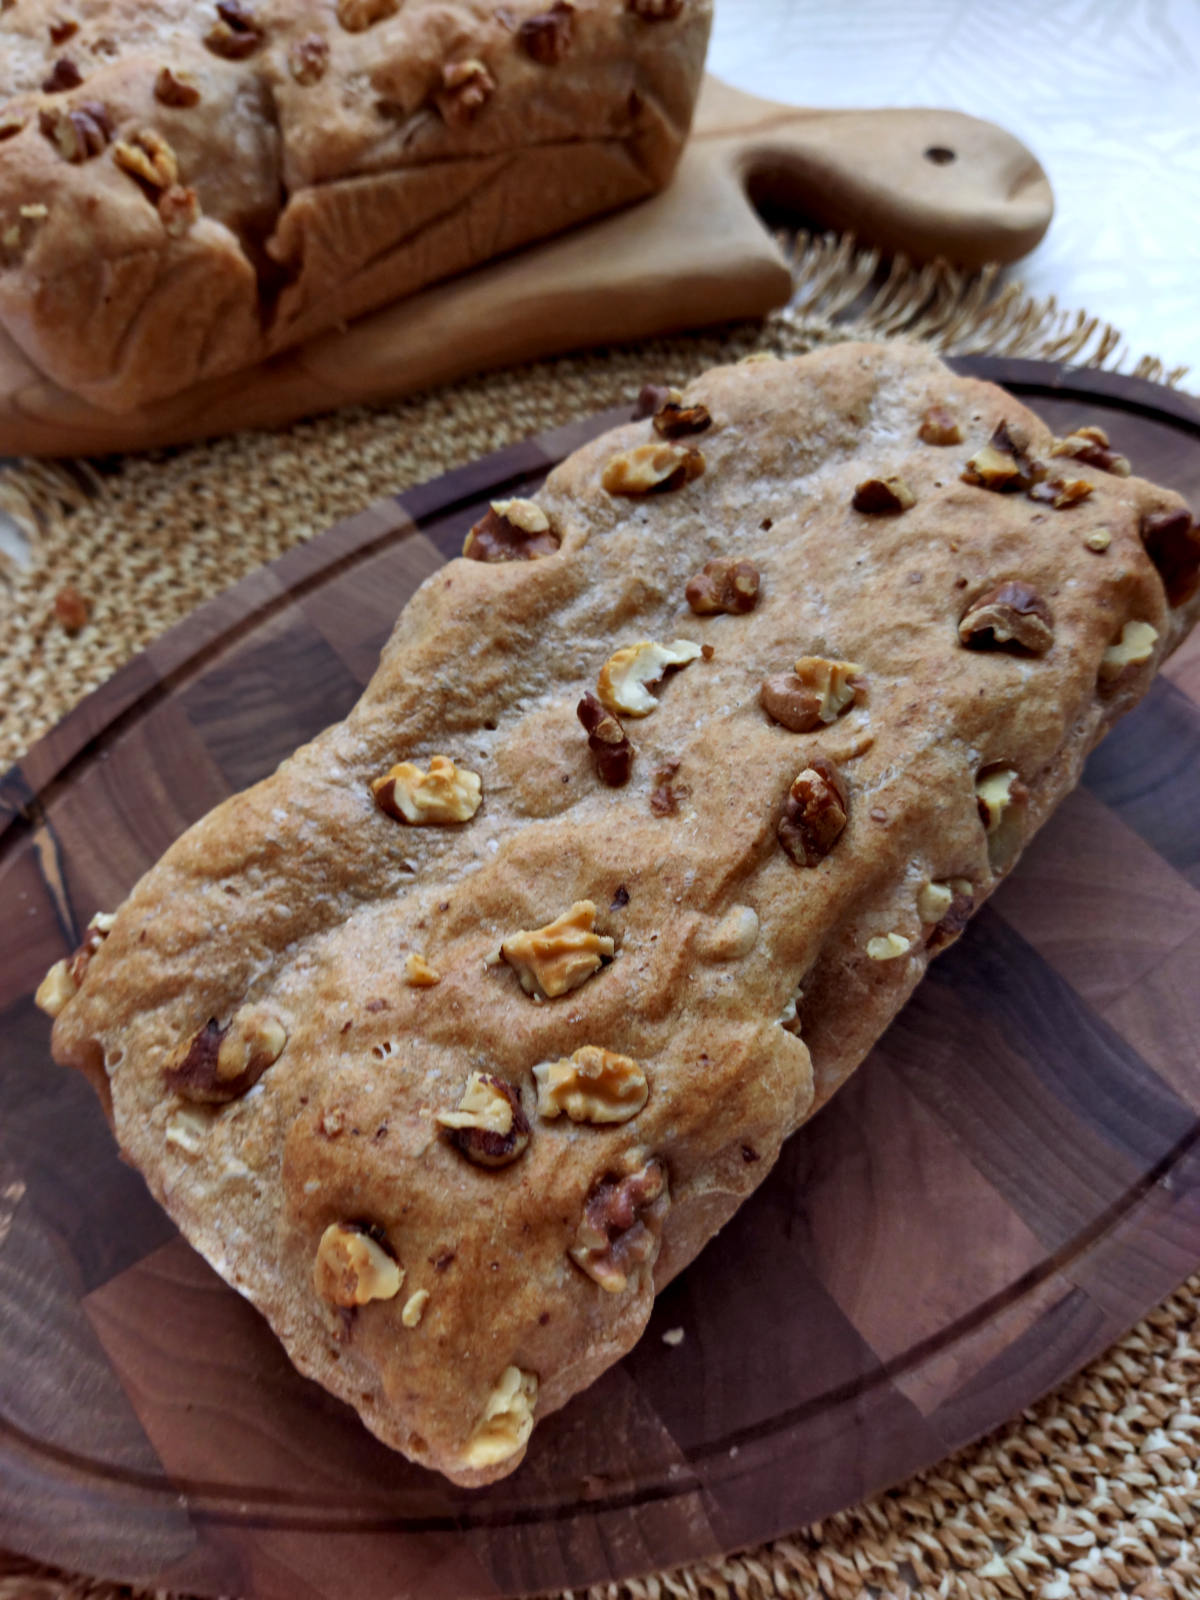
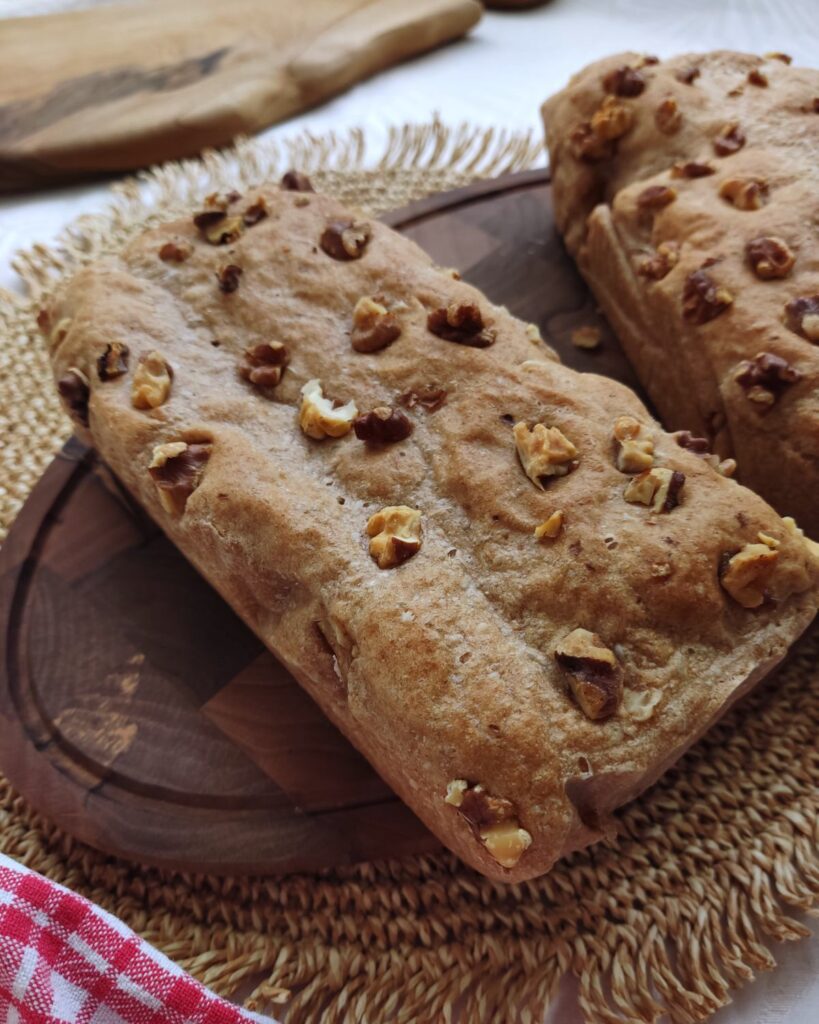
I do have more bread recipes coming up, including ones where I make bread without loaf pans, so stay tuned and have fun baking! Oh, and the walnuts on top are optional, but they definitely transform this bread from plain and simple to decadent and luxurious. 😊
The Easiest Whole Grain Bread
Ingredients
- 500 g of whole grain spelt (dinkel) flour or whole wheat flour
- 21 g of fresh yeast or 7g of dry yeast
- 1 ½ teaspoons of salt
- 380 ml of warm water about 40 degrees
- ½ tsp date sugar optional
- 25 g walnuts for topping optionally
Instructions
- In a stand mixer or a big bowl mix flour and salt.
- In a separate container mix water and yeast and date sugar (optional). Date sugar (or any other sugar) will speed up the process of rising, but bread will rise without it too, so it's optional. I also noticed that different types, or even brends of flour might need a bit less water, so feel free to experiment. See pictures for the desired texture.
- Add water mixed with yeast to the flour and salt mixture. Mix to make a soft and smooth dough. You may use a stand mixer with a dough hook or simply knead the dough by hand.

- Leave to double in size for 1-2 hours. When it's really cold in the kitchen, I will heat up my oven to 50°C, then turn it off and put the dough in there to rise.
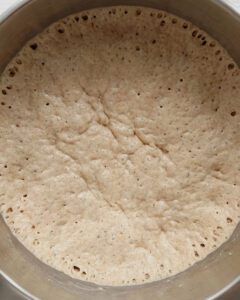
- After the dough has doubled in size, divide and transfer it to two bread forms covered with baking paper. One good trick I've learned is to use wet hands when shaping the dough. Be careful not to overwork the dough so it doesn't lose the bubbles it made during rising.
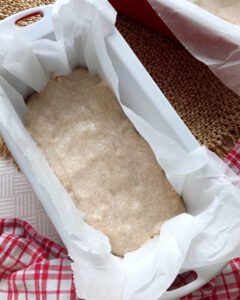
- Leave the dough to rise again for another 30 minutes.
- Optionally add walnuts or other toppings.

- Bake at 180°C for about 35 minutes without preheating the oven.
- It stays fresh for two days. You can make a larger quantity and store the finished bread for about six months in the freezer.